Posts

Aluminium Bowl Making Tutorial

Image
Things You Need Aluminium Sheet Hammers E nglish Wheel STEP 1 Use guillotine to cut your big aluminium sheet into a square piece about 25cm*25cm size. STEP 2 Draw a inscribed circle on the square metal sheet. Use this kind of scissor to cut the shaded part off. Tips: use a right handed scissor is you are right handed, vice versa. And make the blade nearly parallel to the metal. It will make the cutting easier. STEP 3 Draw the round metal sheet like this ( central point and concentric circles). Then strike every jointed point on a template like or a sandbag using the pointed side of the rubber hammer showed above. The flat sheet start to have wrinkles curved up. Be careful don't make the wrinkles too crushed, it will be really hard to make it flat again. STEP 4 Then use the more rounded side of the hammer to strike the wrinkle down evenly around the circle. This will make the bowl more sunken. STEP 5 Put it on a mushroom shaped
Assignment 2--Ferrari 250 GTO

Image
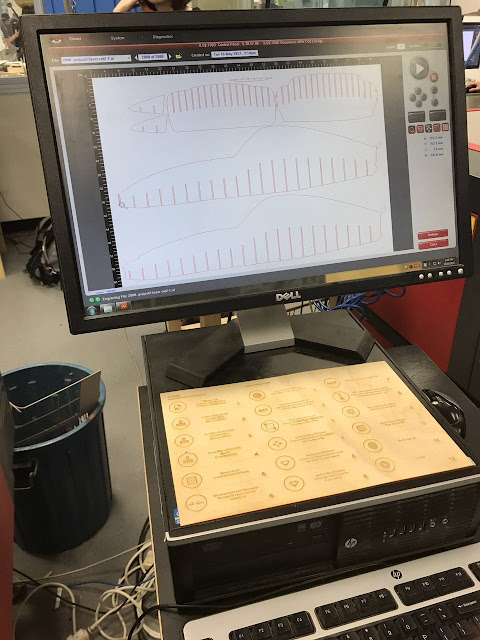
My Group Members: QIUTONG ZHANG RUILIN QIN QIAN SHA ZHENLEI YU SHANSHAN ZHANG & JIAYU LI (me) Like every group else, we started with making the template by laser cutting every pieces that compose the Ferrari.   We all practiced how to use laser cut this time, from original files to AI files that adapt laser cutting machine. But for the first time we didn't chose the right thickness of material, so we did it again. This is how it looks like after we put every pieces together.  We made the distance between two pieces pretty small and have more pieces, in order to get a more fluent shape of the car when we shape the metal. Then we used masking tape wrapped it for the same reason. Then we divided the car into several parts:  top of the car(from empennage to windscreen), top cover,  the front face, right front above wheel, right back above wheel, left front above wheel and left back above wheel. Then we used tracing paper to get the shape of ev